
The page builder is super easy to use! You can create multiple content blocks that can hold text, images, videos, script and much more!
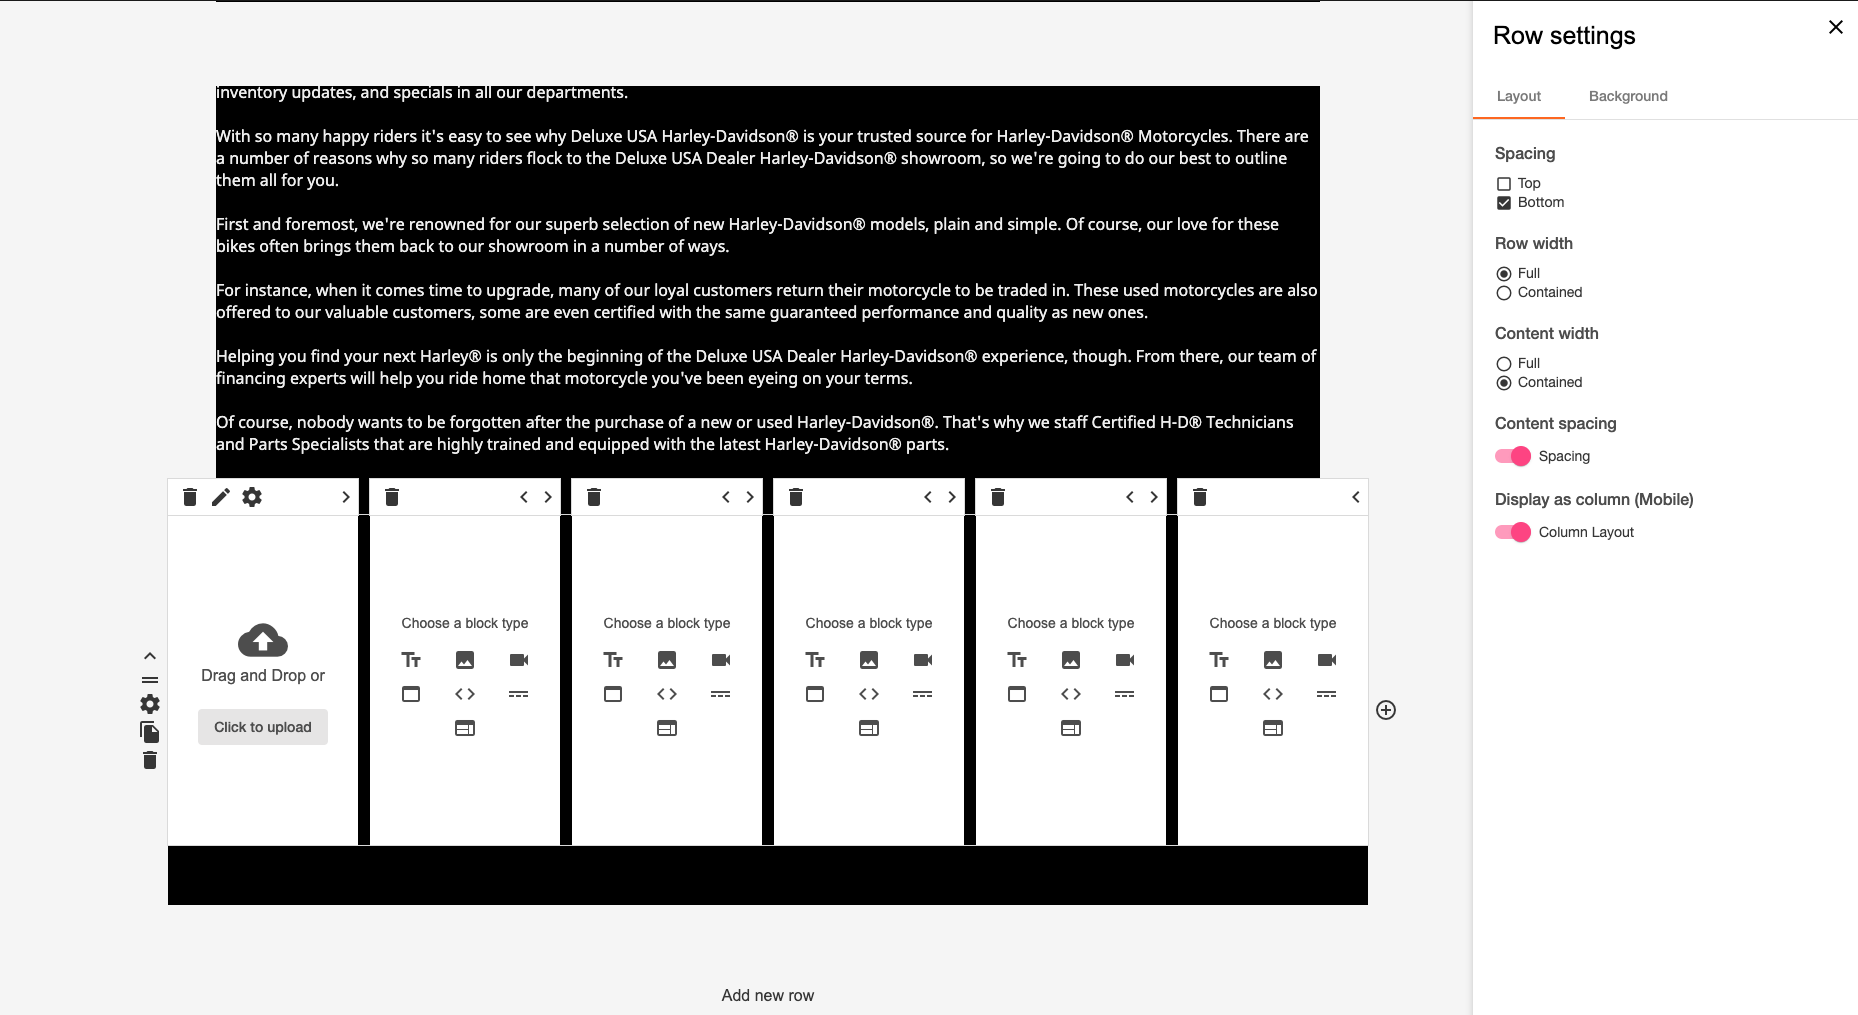
Simply click "add new row" and choose from the column options, you can have up to eight columns per row so just click on the "+" sign beside the last column on that row. Once you're happy with the amount of columns you'd like to add, you can then choose the type of content you add from the options that will pop up below the column.

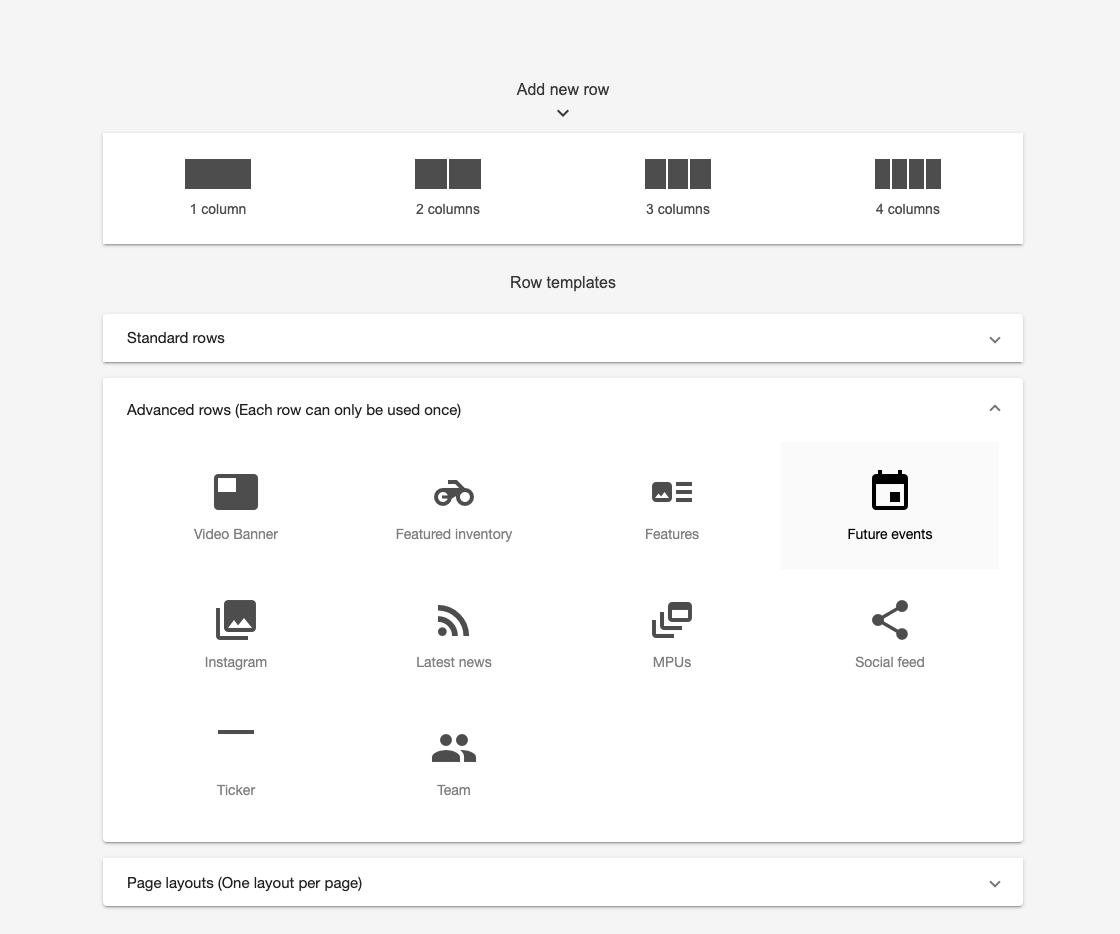
Alternatively, if you would just like one content block/row then you can just jump to the "standard" and "advanced" rows where you will be able to choose just one particular style of row. For example you can add a row that shows inventory, photo gallery, social feed, plus promotions and events!
The customisation doesn't end there though! You can also be creative with the spacing and formatting of the content on your page, so once you're happy with what you have added you can start making adjustments to make your page more mobile friendly and you can even add space below and above the rows by click on the cog symbol to the left of the row. You will see a control panel on screen which will give you some extra features.
Here's a rundown of what these controls will do:
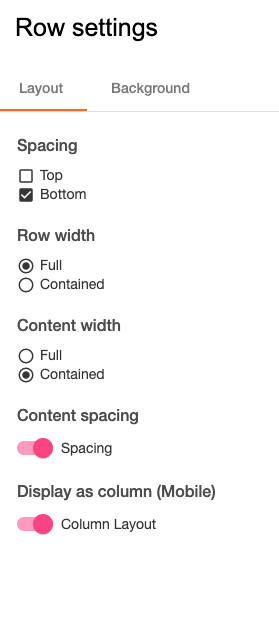
Spacing - you can add spacing above and below that particular row by making sure that these boxes are ticked or unticked if you'd like to have minimal space between the row above and the one below. Do this for each row for your desired look!
Row width - Pretty easy right? You can either have the row contained within the page size constraints or you can have it "full".
Content spacing - switch this toggle on and off to automatically add more spacing between content blocks that are contained within that row. For instance if you have two images side by side in separate blocks, toggling this on for the row will add some negative space between the two images so that it everything is spaced out equally.
Display as column (mobile) - this does what it says on the tin! This will format your row to appear as a column on mobile, this will automatically drop your content blocks into order to make your page more user friendly and will give your customers thumbs a nice rest so that they don't have to resize and scroll across the screen to view the row.
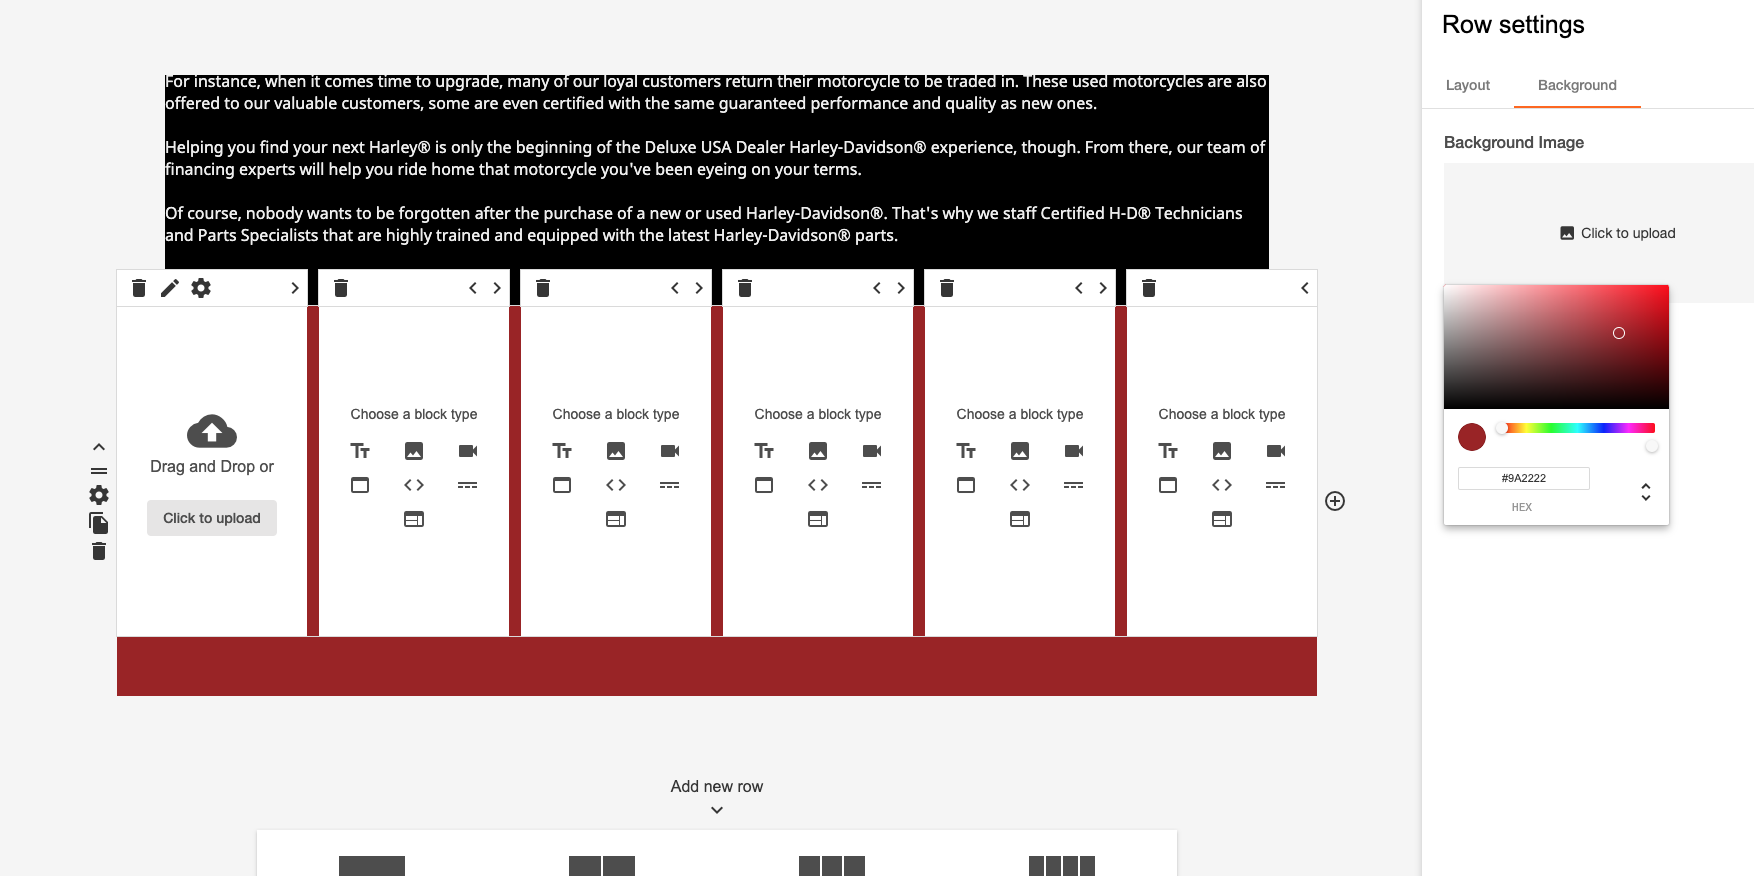
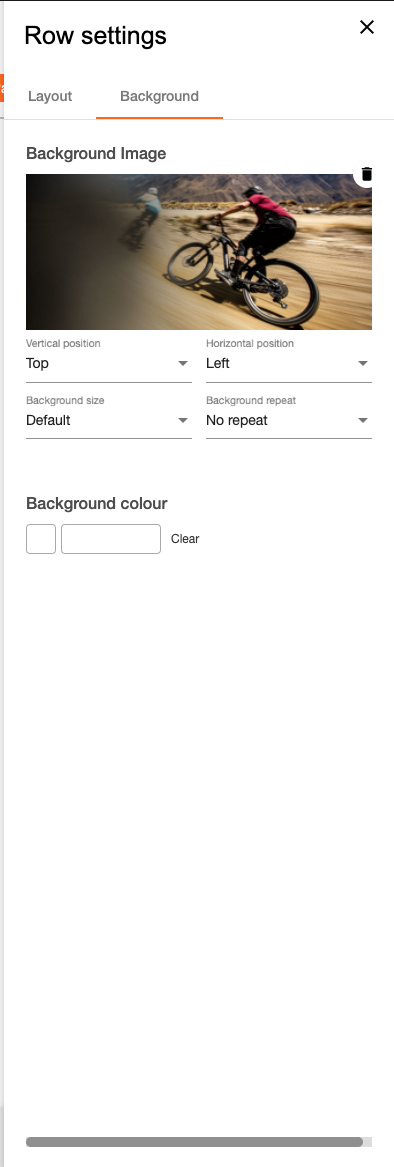
Some other cool stuff - you can actually add background colours to make the row stand out, simply click on "background" which should appear at the top of the control panel pop-up. Here you can enter colour reference codes or simply pick a colour from the colour wheel. You can then go in and add text etc over the top of your new background colour within the row. If you'd like to spice up your row with a background image, you can of course do this by clicking on the upload button :)
Another awesome feature is the "block settings", when adding an image you can accompany text with the image either above, below or on top of the image itself. You simply add an image to the block and then click the cog symbol above the block. This will open up "image block settings" select "options" and then make sure that the "text area display" toggle is switched on. You will now be able to add your text and you will also be able to choose where it sits either on or above/below the image.
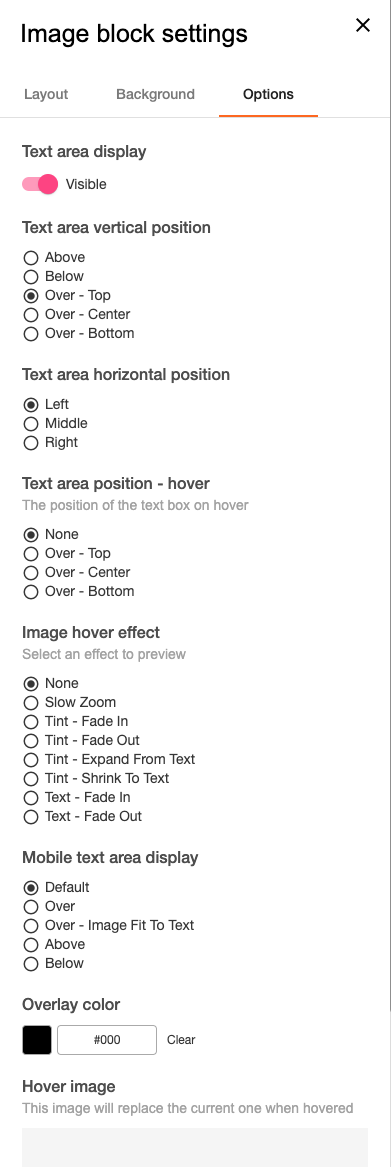
Just below these settings you will also see the "image hover" effects, so if you'd like your image to have a fancy effect that fades when the customer scrolls over it to give a more interactive experience then you certainly can!
Comments
0 comments
Article is closed for comments.